The MC-95 trike, when set up correctly, seems to perform perfectly well up to about 50mph. If you are happy with it up to that speed then just perform the normal routine maintenance and safety checks, such as changing fluids, adjusting chain tension, maintaining correct tire pressures, and making sure that nothing is coming loose, etc and you should have lots of fun.
This page is for those of us who can't help trying to improve things, wanting more speed, etc. But if you start making modifications, be willing to take responsibility for the results. Most modifications are likely to not make much of a difference and and often make things worse, and can be downright dangerous. Take photos, and make notes, keep the old parts, and have a backout plan so that you can restore things to the way they were if things don't work out. Ride slowly at first and carefully explore speed and handling at lower speeds, progressing to faster speeds only when you feel completely sure that the trike is performing as well, or better, than it did before at previous times.
Take full responsibility for your own actions, and always put safety first!
If you are looking for detailed info to do Maintenance on the MC-95 you can find a lot of very helpful details in the HONDA HELIX SHOP MANUAL, which is freely available online and downloadable. I use it as a good guide - click: Honda Helix Shop Manual Download
Advanced Maintenance & Tuning
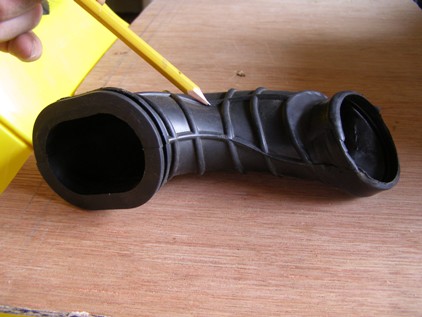
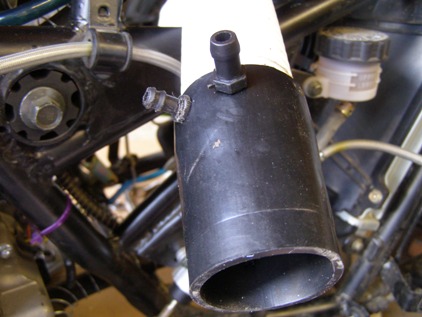
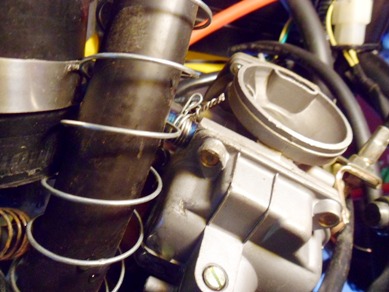
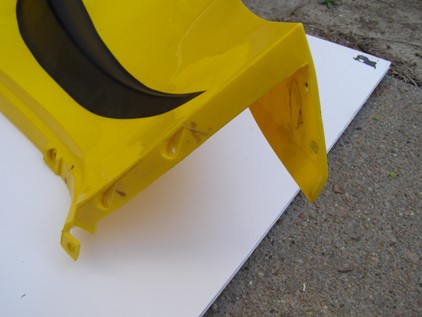
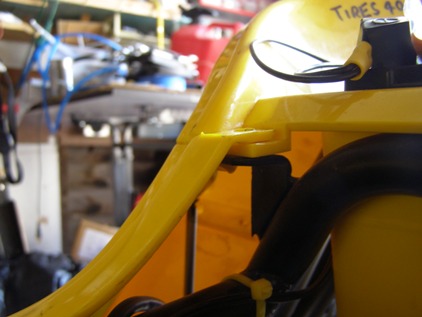
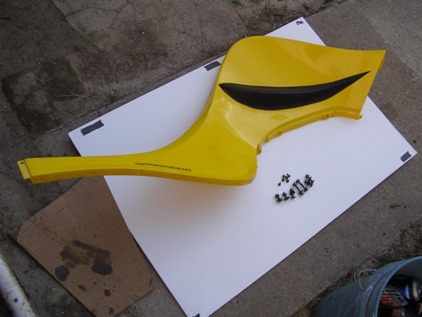
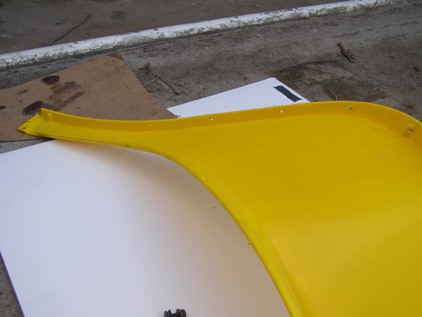
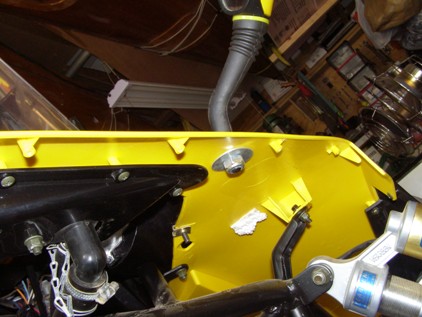
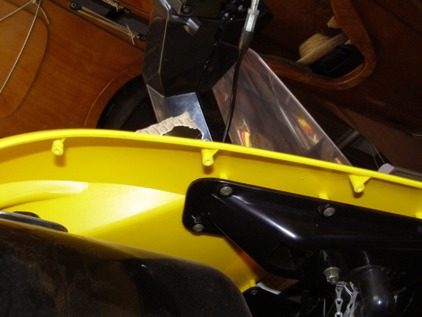
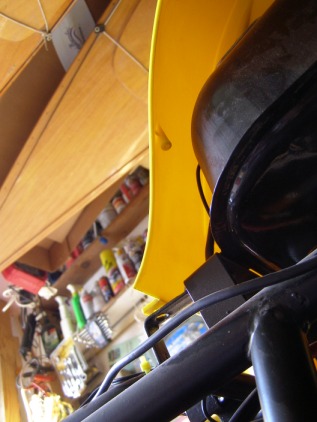
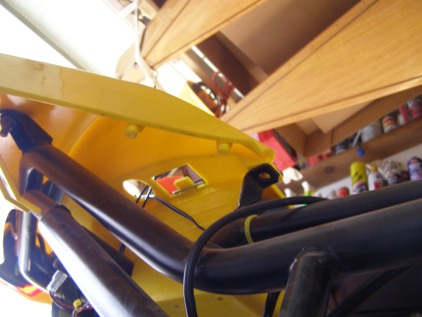
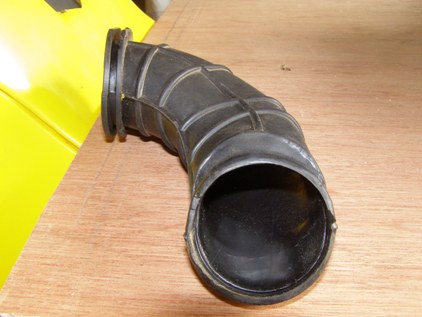
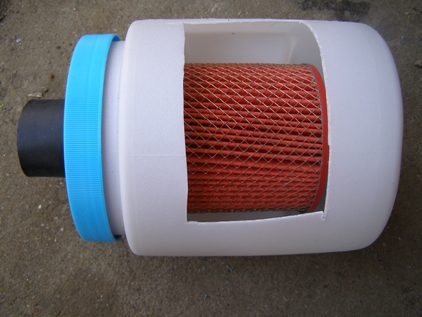
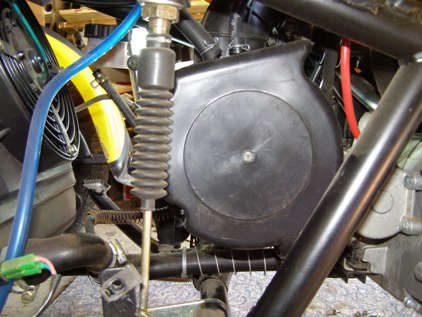
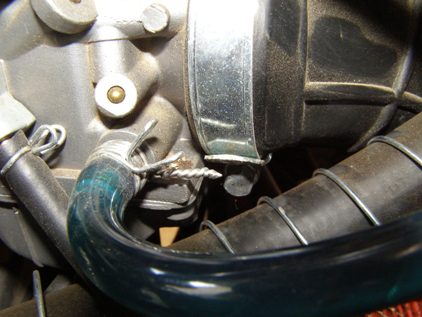
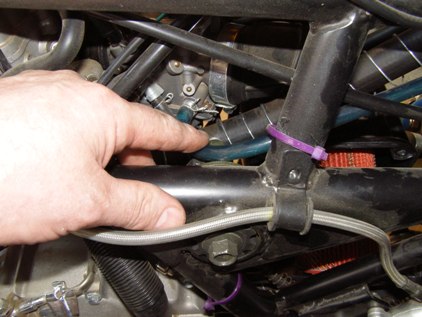
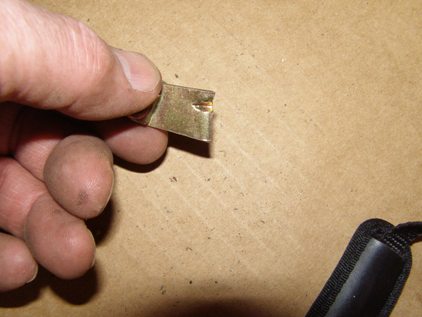
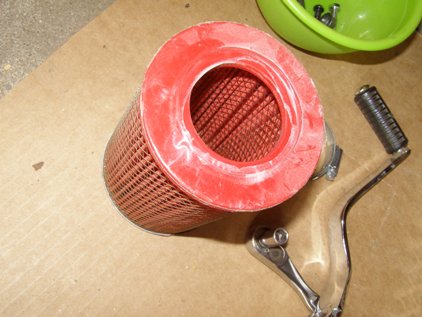
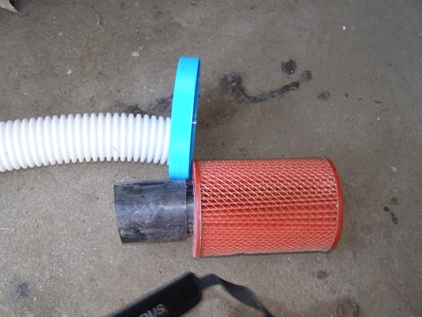
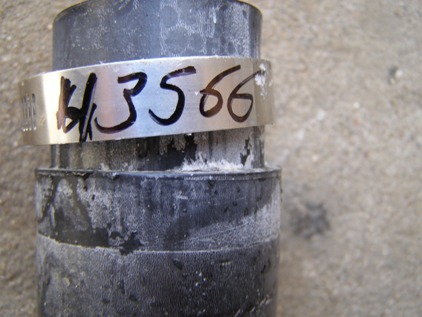
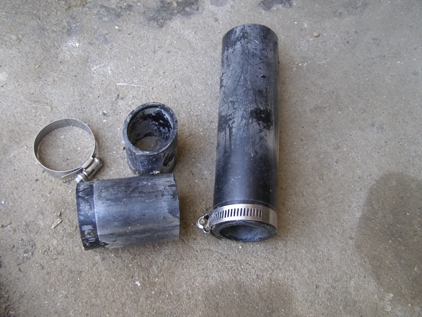
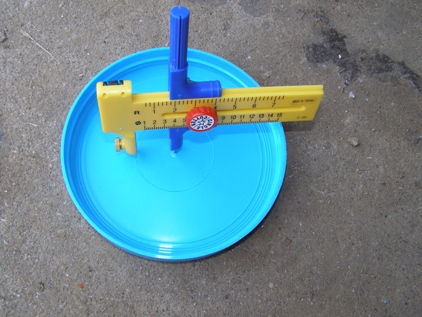
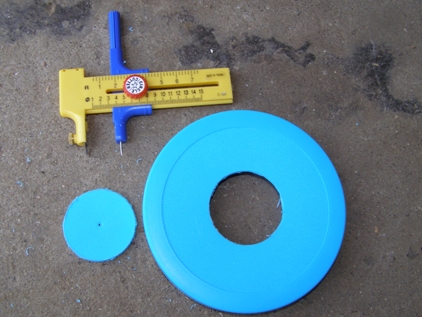
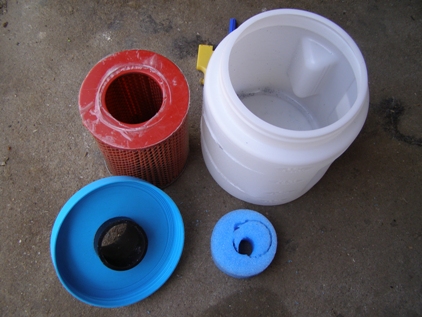
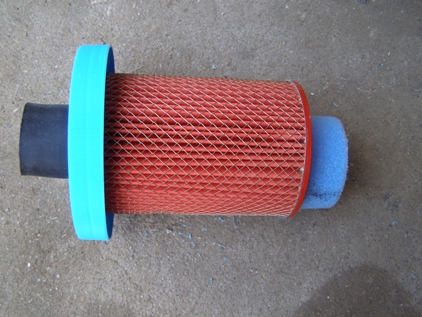
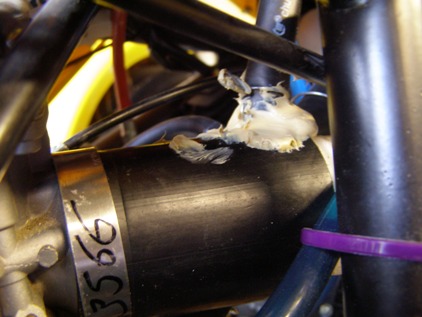
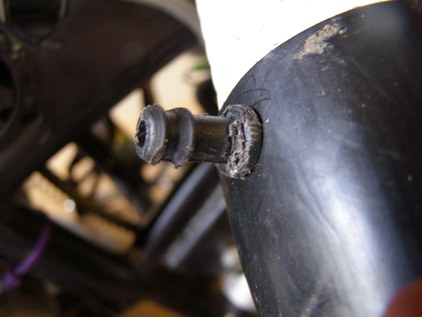
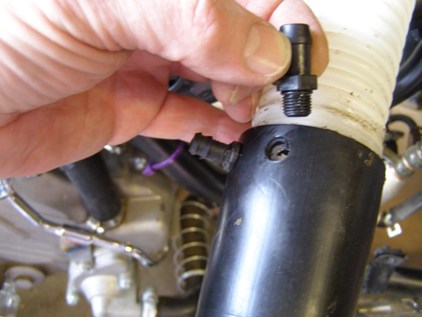
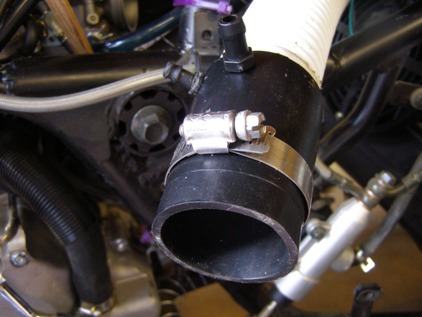
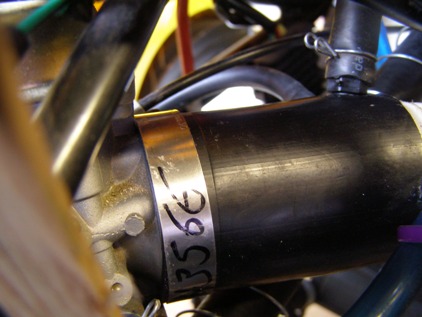
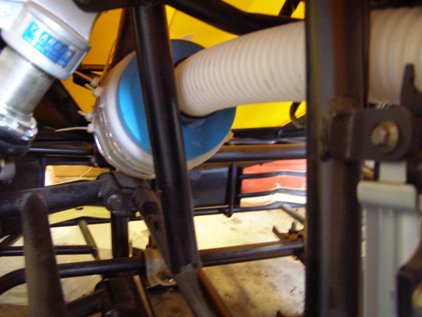
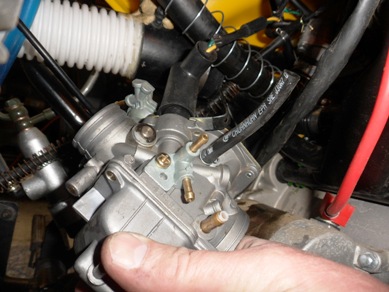
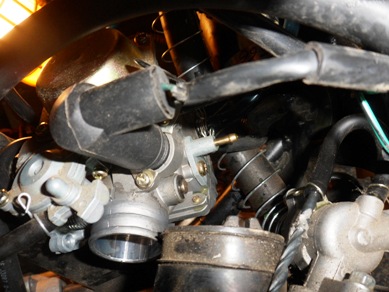
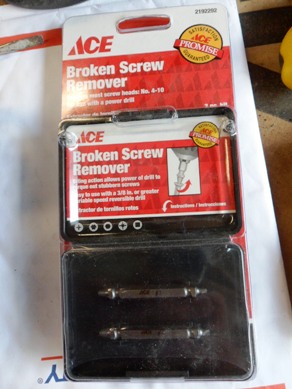
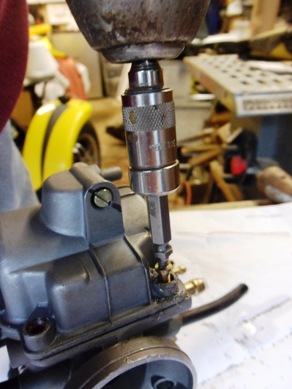
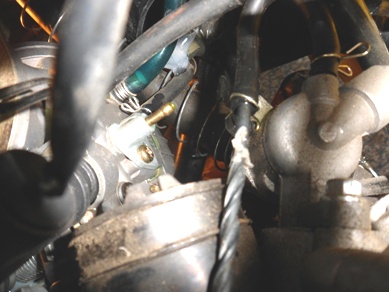
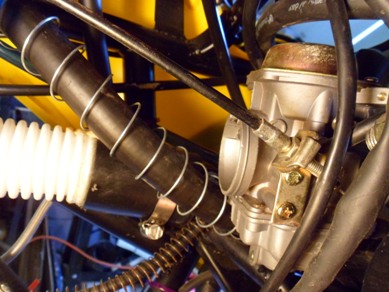
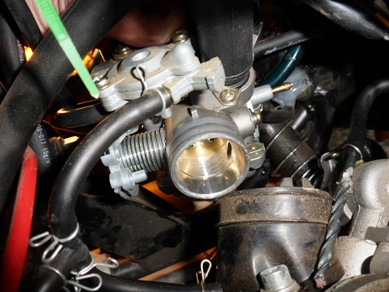
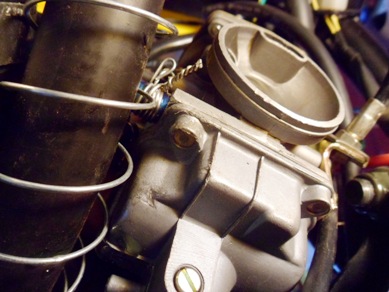
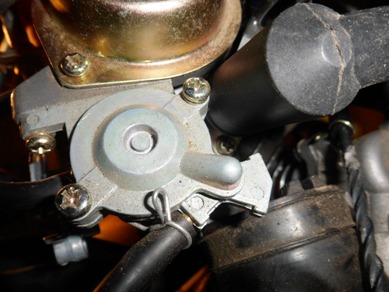
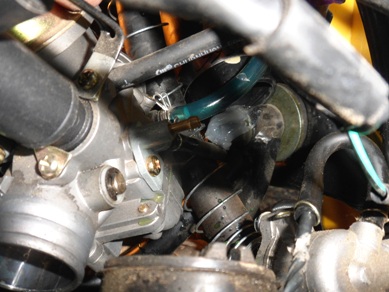
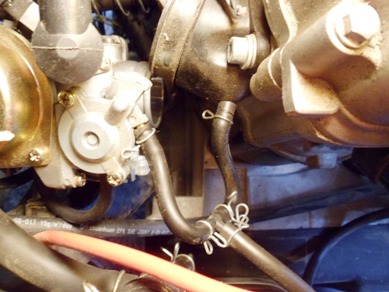
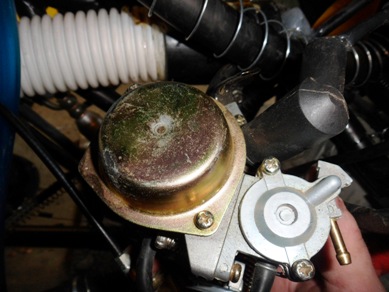
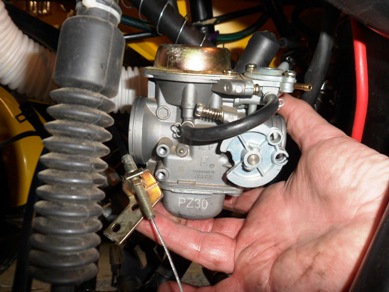
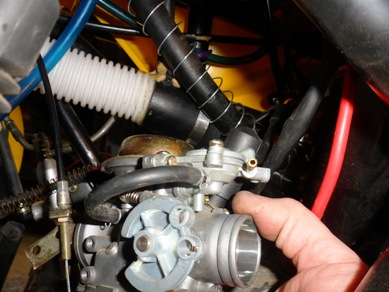
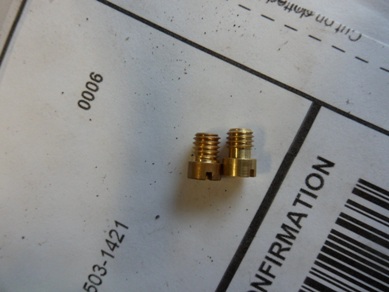
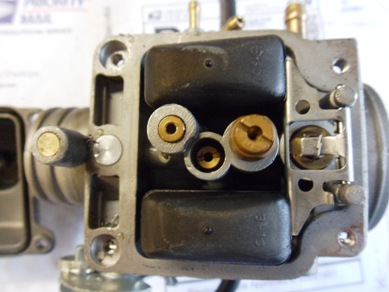
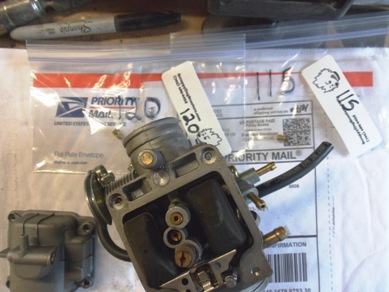
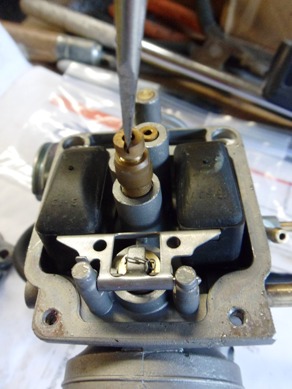
Modifying the air filter As the speed of the MC 95 seems to be limited to around 50 mph, which is not too impressive for a 250cc engine I decided to make some adjustments to see if I could improve things a bit. I started off by checking the air filter found that mine had detached itself from its supporting bracket on the carburetor. I was alerted to this by a lot more noise coming from down below. This was around 700 miles of use. I also noticed that the filter inside the housing is being used backwards compared to the normal way they are fitted. They had designed the air intake so that the incoming air went to the middle of the filter, passed through the filterto the outside of it, and then was drawn from the outside of the filter into the carburetor. I suspect that this reduces air flow. Also, they have used a rubber connecting tube between the filter housing and the carb that seems too soft and may be collapsing as the engine sucks air, which could be self-limiting the actual maximum amount of air getting into the engine under load. Another thing I noticed was that the air intake is directly behind the radiator, which means that the air intake will almost always be getting very warm air, except in really cold conditions or when the engine is still cold. Warm air will expand a lot less that cold air, so the efficiency of the engine will be lowered. This is probably also reducing the efficiency of the engine. I decided to alter the air intake by extending out it to the front of the trike so that it was in the clean cooler air. Working on the engine, etc. is tricky because everything is packed into a tight space, and protected by panels that take a while to remove. Removing the existing air filter box is quite a pain. It involves removing the side panels on either side. These are held in place by several bolts and well hidden, and hard to reach X head screws up under the top edges of the panel. You need very slim hands or great imagination to come up with easy wast to get at them. Once you can get at the engine it takes a lot of maneuvering before the filter box can be taken out of the frame by lowering it and twisting it to get it to come throughth elower part of the frame. You will probably have to raise the trike on a stand to provide enough clearance under the frame. Removal is simple enough and involves removing the inlet clamp and two bolts securing the filter box to the engine. The clamp nut may be hard to get at. There are two small tubes that also go into the air filter box and these have to be removed, and then put back into the final modified system. I started the modification off by finding some more 1 1/8" ID dia flexible rubber hose that was close to the diameter of the air intake, and some tubing to extend the filter box away from the engine to place it near the front of the trike. The best thing I could find was some ribbed plastic hose used for a shop vac, usually available in hardware stores. The 1 1/8" rubber tube is required to fit over the flexible hose and allow it to be attached to the carburetor. I went to several motorists store and could not find anything of the correct size, but did come across a couple of water heater hoses that would have been a last resort. Ace Hardware had a perfect piece of sleeved rubber tubing that it was made for some sort of pump (#43566), so I purchased this and it went ahead and modified the air filter. It actually had inner smaller dia rubber sleeves that were also useful and came with two hose clamps. Cost about $10 approx. I purchase a spare for future use as I was not sure if they would always have this tube. I visited my local Dollar Tree store and purchased a plastic container with a screw-on lid, and used this as the housing for the air filter. I was able to use the inner rubber sleeve from the Ace tubing which fitted perfectly into the air filter. I cut a hole in the lid of the plastic container, and pushed the rubber sleeve through, put the air filter onto the end of it, and then used a piece of the outside tubing to connect between the insert rubber and the plastic vacuum hose. I placed a piece of foam rubber in the bottom of the container to help keep the air filter in place, in case it vibrated around in use. I also added a cable clamp to secure the rubber parts together. I had cut a hole in the side of the container to let the air in, and placed a piece of metal door screen mesh over the hole, bedded it down on silicone sealant, and then applied cable ties to hold it in place. I then attached the container at the front end of the trike, led the tubing back to the carburetor, over the radiatior, and then attached the tube to the carburetor using another piece of the rubber tubing and the cable clamp. If I can find some lighweight smoother tubing of the correct diameter I will replace the ribbed tubing to obtain better airflow, but the larger diameter tubing and cooler air should improve things. Testing the new Air Filter System The engine started easily and idle'd well, so I decided to take it out for a ride. The trike ran smoothly up to about 20 miles an hour, which usually runs on the part the throttle covered by the needle jet. As soon as I tried to go any faster by adding more throttle, the engine bogged down. This indicates too much air flow and not enough gas/petrol. So the next stage was to take out the carburetor and replace the main jet. The main jet controls the flow of gas/petrol from about 1/4 to full throttle. (it is a bit more complex than that but if you really want to know you can find lots of info on the internet about it. Photos Showing the Modification Process for the New Air Filter - hopefully self explanatory! | Photos ot the carb work They are a bit mixe duo but you can probably find what you need somewhere. Changing the carburetor jet To remove the carburetor one must again remove the side panels, which involves removing several bolts and then several more hidden short cross head screws, which are tricky to get at. If you are smart, then leave the panels off and go for a test run after you modified the air filer. This will save a lot of time. With a modified filter setup there is a lot more room between the radiator and the engine, but I still had to remove the left side panels to be able to reach and release the carburetor to engine clamp on the rubber manifold. I also had to remove several small tubes, including one that appears to be a coolant tube, and several more that appear to be either fuel or vacuum tubes. I also had to release the automatic choke. I am going to cut the two wires to the choke and replace them with insulated spade terminals, to make it easier to remove the carburetor in future. However, it is easy enough to remove the choke, or more correctly cold starting system, as it is held in place with two cross head screws and a clamp plate. The other item to remove is the throttle cable and this can be easily lifted and removed from the rotating cam. Once I had the carburetor in my hand at the workbench, I was able to turn it over to get at the four screws that hold the bottom of the carburetor bowl in place. However, these turned out to be tamperproof screws, so I needed to use a screw extractor to be able to remove them. I bought mine from Ace Hardware and it worked great. (About $14 for a set of two sizes. The smaller one is the one I used). With the screws removed, the float bowl can be removed to expose the main jet, pilot jet and other parts of the carburetor including the float valve. The standard main jet is the number 107, which I gather that means 1.07 mm hole in the jet. This is probably used to produce the most economical use a fuel, but also explains low performance from the 250cc engine. I purchased a number 115, and the number 120, main jet from ScrappyDog.com. I intend to try the number 120 main jet first. I shall replace the tamperproof screws with four slotted head stainless steel 4 mm countersunk screws. I purchased these from Ace hardware, and I shall file the heads to allow them to fit the base of the fuel bowl. The next stage will be a series of engine runs to see if the engine will run properly both from starting, at idle, and then through acceleration to maximum speed. If it runs smoothly in all of these ranges, then I will check the condition of the plug to make sure the engine is not ring too rich, and if all is well I will leave it at that. Most likely, there will be one or more flat spots during acceleration, problems starting, or too rich or a mixture. So the next stage will involve removing the carburetor, trying of the Jets, and maybe even replacing the needle jet and jet needle unit, or the pilot jet. I'll be leaving the side panels off so that I can get to the carb easily and remove it more swiftly to make the adjustments - patience require here! Well, I learned something more about the carb when doing this tuning. I had problems getting smooth running, and the jets were looking like they were running too rich. Luckly, I came acorss this great website for the MF250 engine Manual, which appears to be very similar to the engine used in the MC-95. There I found details on servicing the carburettor and realised that I'd not seated the enriching device correctly. It has a groove that looks like it should hold to retaining plate- incoorectly I found (see page 72 of the manual). Once I had the enriching device seated properly I was able to continue setting up the correct main jet. Main Jet #115 seems to be working well so far. I did modify the air filter system, by putting a K&N filter on a short rubber tube and this appears to work well, I changed it during my problem session with the enrichment device in case it was my filter snorkel causing problems, so I may go back to it once I finish my carb tuning of the main jets. Quick testing seems to give more acceleration and it sounds pretty good too! The road sections I was testing on were too short to get much above 45mph, but it appeared to be geting there faster. Proper road testing will be carried out next. I'll add the photos of the K&N Filter setup soon. I've put the side panels back on the trike so that I can do some proper speed runs to check the main jet out, and I'll be looking at the plug color to see if I have things about right. Check out the CF Moto CF250 Manual - it will be very helpful if you intend to service the engine, carb, CV system, etc. I found it at MartinRacingDealer.com You may find other manuals useful too. Results From Changing the Main Jet and Air Filter I was able to take the trike outr for a 38 mile ride yesterday to test out the new main jet (115) and the K&N Filter setup. I found that the trike had a pleasing roar, but the actual top speed never reached more than it did before! It may have had a bit better acceleration, but that was good before the changes. Also, the fuel consumption was huge! I used about 3/4 of the tank full, which equates to worse than 38mpg. I was getting around 60mpg before the change, so no point in using the bigger jet and air filter unless I can get more speed. As, there was no gain on max speed I think that I'll go back to the 107 main jet, and maybe even the original air intake box and filter - I'll just mount it better, or maybe move it in front of the radiator to avoid the hot air. Time to look more closely at the CV system to see if I can alter the speed there. Removing the Main Jet |
