Fixing a Leaking Water Pump Gasket 

 If you are looking for detailed info to do Maintenance on the MC-95 you can find a lot of very helpful details in the HONDA HELIX SHOP MANUAL, which is freely available online and downloadable.  I use it as a good guide - click:  Honda Helix Shop Manual Download 

Parts are available from: Roketa.com  

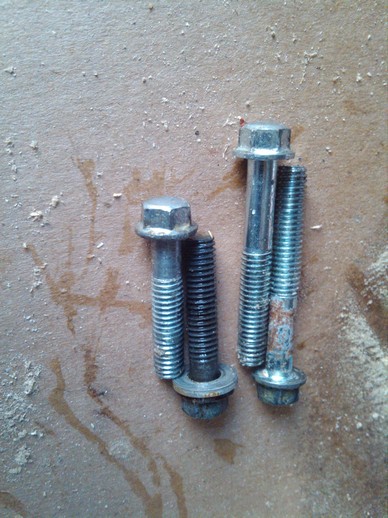
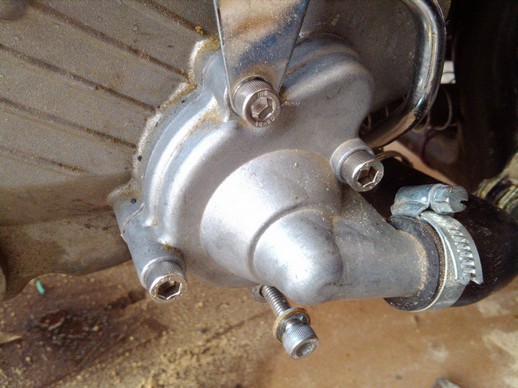
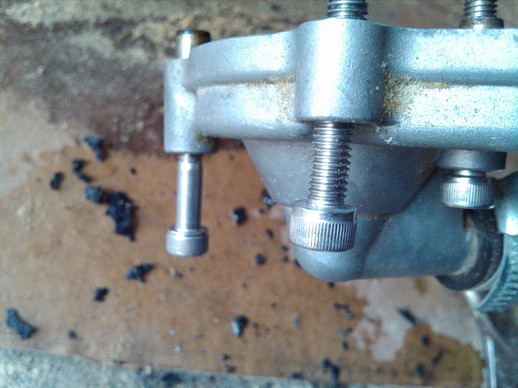
  If you find that you have coolant leaking out of the bottom of the water pump, first try tightening the lower bolt as this is the coolant drain plug as well as a pump housing bolt. 
 
Don't overtighten or you may strip the threads in the casing. Gentle pressure on a wrench should be enough to seal the drain.
 
If you see coolant leaking around the gasket part of the pump housing then you may need to replace the gasket.  If so, then read on.
 
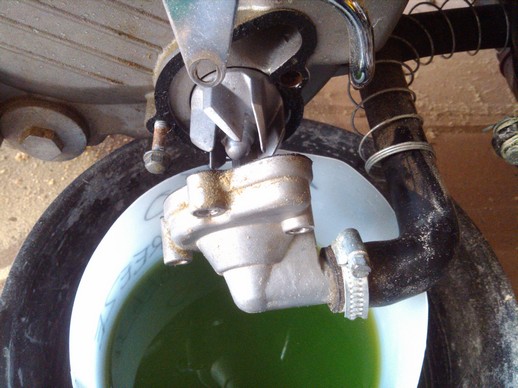
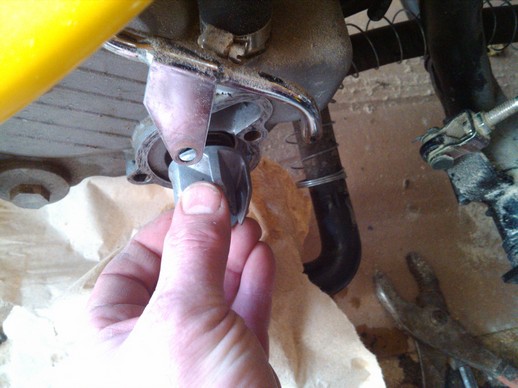
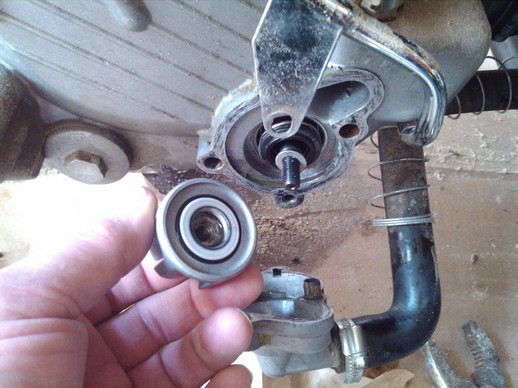
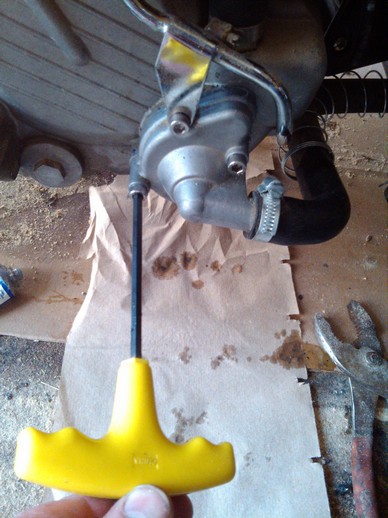
The water pump is located low down on the right side of the engine.
  • Place a suitable container to catch the coolant under the water pump - 2pints (1 liter) min.
  • Remove the small plastic cover, located just in front of the right handlebar, using a cross head screwdriver.
  • Undo the radiator cap - turn it counter clockwise. Do NOT do this if the engine has been running in the last twenty minutes unless you enjoy scalding water showers.
  • Loosen or remove the lowest bolt in the water pump housing.  You should see coolant flow out.
  • Once the coolent had drained, you can remove all four M6 bolts ( M6 = Metric 6mm diameter).
  • NOTE that the top and bottom bolts are shorter that the front and back ones.
  •  

 Removing the pump housing

You can see the gasket material on the engine part of the housing

  • Gently prise the housing away from the rest of the engine.  Gently tap with a rubber mallet and the use of a thin edged tool, such as a thin wide flat screwdriver, can help to loosen it. Ease it into the gasket area, but don't mess up the metal surfaces or crack them, as you will be in a world of pain. Pull the housing towards you.  Take your time and it will eventually split off at the gasket 
  • Swing the water pump housing carefully away (you can leave the hose connected, unless you intend to replace it) so that you can get at the engine surface.
  • Dispose of the coolant sensibly. Don't lick your fingers! It is a poison.
  • Clean both surfaces to remove all the old gasket material. I use a blunt knife blade, or a blunt flat screwdriver.  The idea is to remove the old gasket material without cutting grooves into the soft aluminum castings. 
  • Avoid getting the gasket material in the pump parts.  I use one of those free toothbrushes you get when you visit the dentist to brush the bits off the items.  You see, there is a good reason to visit your dentist regularily.

  • Brush outwards to remove the old gasket material.

 Assorted photos of the water pump and housing

Water Pump Location

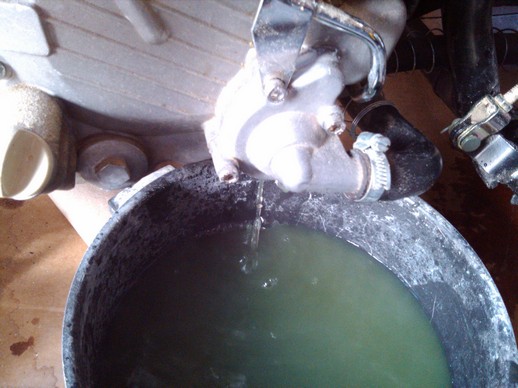
 Note Lower bolt is also the drain plug for the coolant.

Drain the coolant into a container.

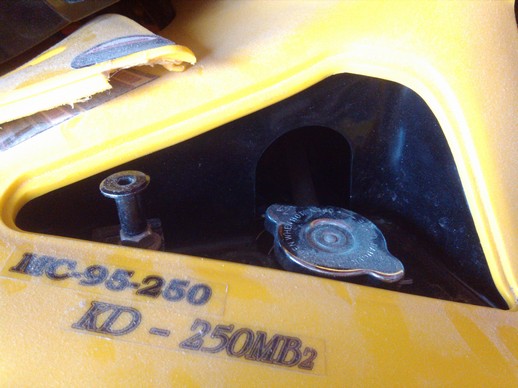
Cover plate removed for access to the radiator cap. (The knob at the left side is a temporary knob I use for hold on the cover plate - ignore it)

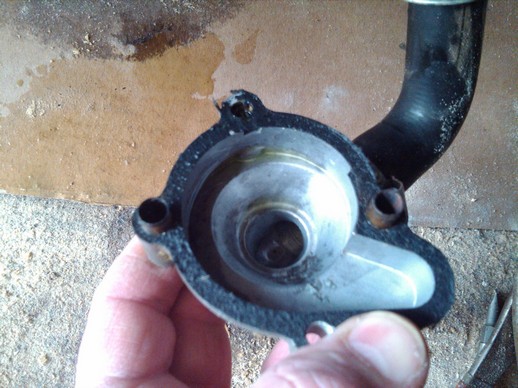
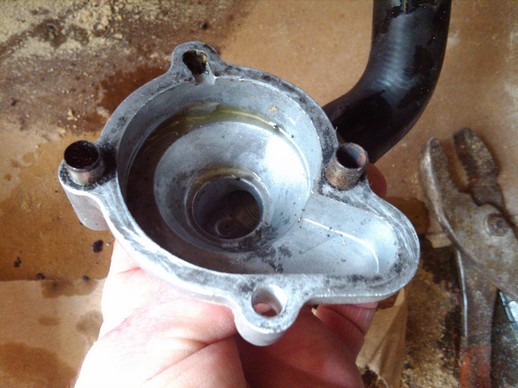
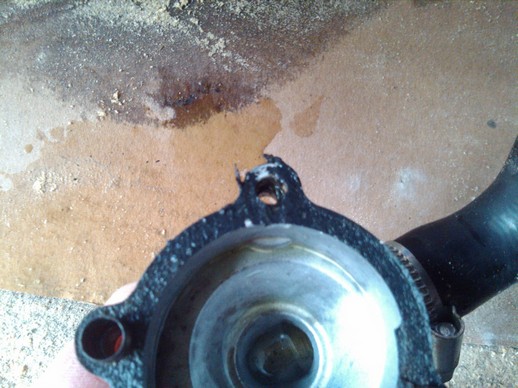
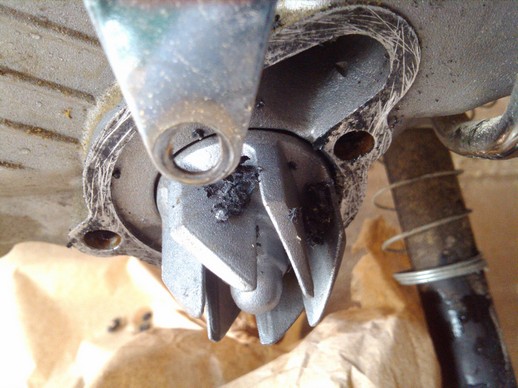
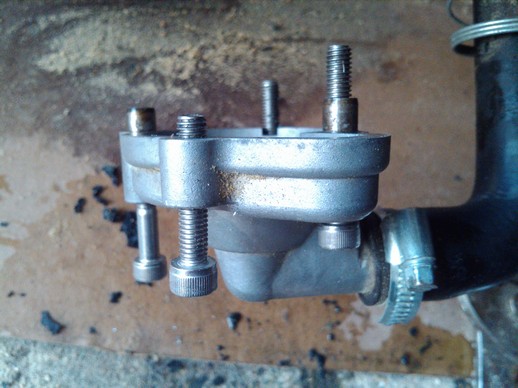
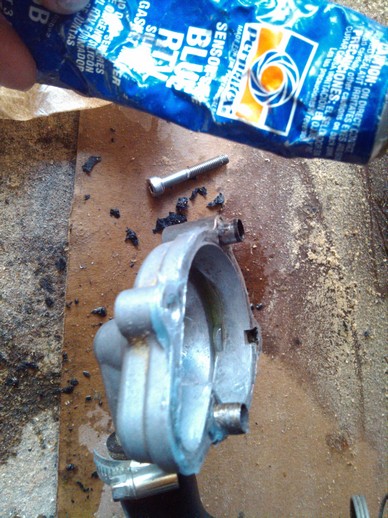
 Clean off the old gasket material

Be careful not to dig into the soft aluminum surfaces and also keep the old gasket material out of the water pump parts

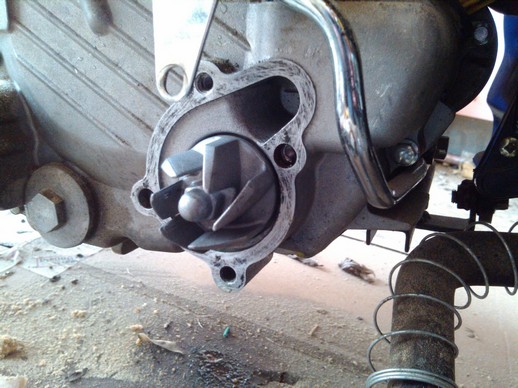
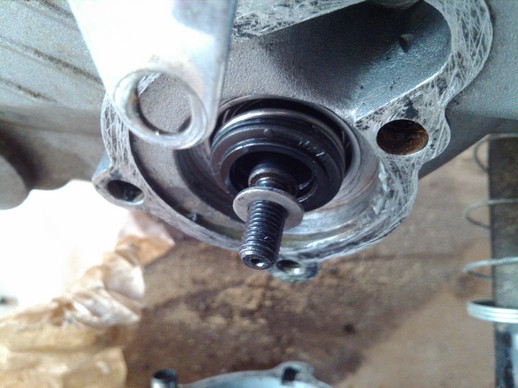
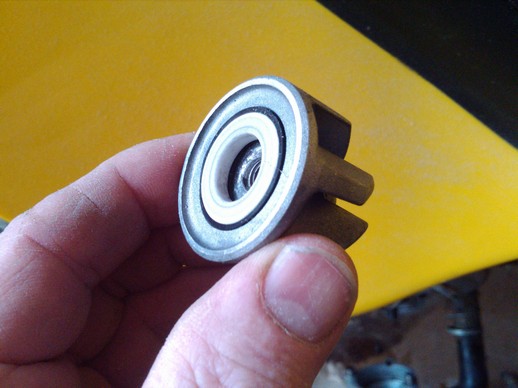
This is what it should look like after you remove the gasket material.

TIP:  Removing the water pump inpellor

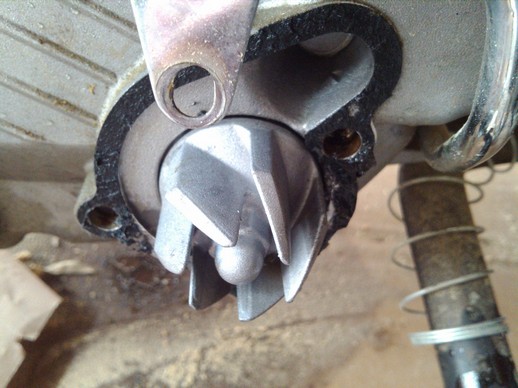
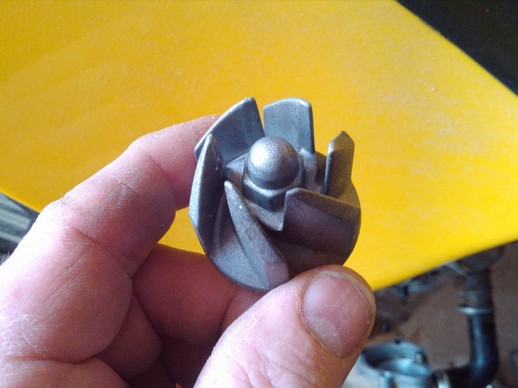
The impellor can be unscrewed easily by turning it counter-clockwise, and it is held on by the force of the coolant pushing on the vanes.

This is opposite to the usual direction for loosing normal bolts.  For digital people: If right-handed, that means if you grip it with your right hand then roll your wrist inwards,  If left-handed (like me) then roll your left hand outwards.  

The impellor does have a nut for a socket if you need more force, BUT do make sure that you are NOT tightening it. Mine came off easily. It is much easier to clean the gasket material off the surface if you remove the impellor.

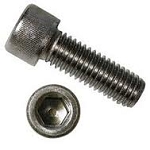
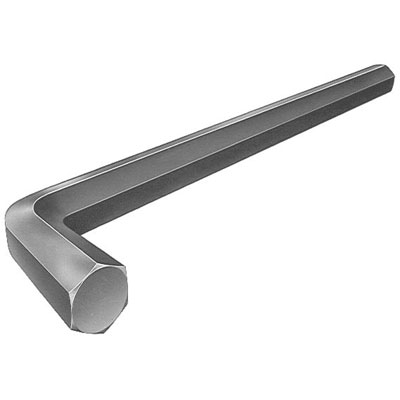
Stainless Steel Socket Head Cap Screws

You can get metic allen keys/hex keys at any hardware store.

Allen Key or Hex key

Add a set to your trike tool kit

     Reassembing the pump housing

  •  Check the M6 bolts to make sure that they are not corroded. I replaced all four of mine with M6 stainless steel socket head cap screws.
  • Once you have cleaned off all the old gasket material and made sure you got all the junk out of the impellor housing and refitted the impellor, you can either fit a new gasket if you can find the correct part, or purchase a sheet of gasket material and cut out your own, or apply a thin coat of silicon gasket sealant to one surface, and then put the housing back and fit all four bolts - remember that the two longer ones go in the horizontal holes and the shorter ones go top and bottom.
  • Don't tighen the bolts fully if you are using gasket sealant as you don't want to squeese it out of the joint. Do them finger tight, and then a bit tighter once the sealant has set - there is no need to tighen them like a gorilla.  If you use torque wrench (cheap from Harbor Freight) set to 69 inch/pounds, or just put a finger and thumb on the allen wrench/hex key and turn until snug.  NOTE Overtightening will just strip out the threads!
  • Let the joint sit overnight if using silicon gasket sealant and then just snug up the bolts with the wrench/key.
  • Add clean new 50/50 mixed coolant (or whatever you need in your location) until full. Put on the radiator cap and run the engine for a few minutes.  Remove the cap (wait if the coolant is hot) and add more until the level stays at the neck of the cap.
  • Check for leaks. I put a piece of dry cardboard under the engine and look for wet spots. If you get leakes then start again.  If not, then run the engine for several minutes and check again. Go for a ride. Have a coffee while the coolant cools down and then check it again.  If no leaks and the coolant level hols then you have achieved success.
  • Watch the temperature gauge for sign of problems:
  •                Not getting hot  = not enough coolant or an air bubble  = add coolant              
                   Overheating  = not enough coolant or an air bubble  = add coolant

  Now you can ride, and then have a beer!


Make a Free Website with Yola.